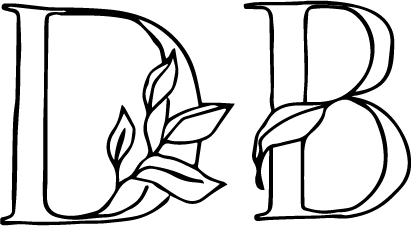
Creating A Custom Wordmark in Illustrator
Unleash Your Creativity: Modifying Fonts to Craft Unique Logos with Adobe Illustrator
Hey there, typography enthusiasts! As a fellow font fanatic (with a collection of thousands, no less!), I understand the beauty and potential that lies within these design elements. Today, I share a special technique: transforming ordinary fonts into extraordinary logos using Adobe Illustrator.
The font I’m using here is from TAN Type and can be found on Creative Market. This is also the new semi-custom brand in our shop.
Step 1: Type it Out
Begin by typing out the wording you envision for your logo. Play with letter spacing to achieve a visually pleasing composition.
Step 2: Create Outlines
Here's where the magic begins! Select the text and navigate to "Create Outlines" (usually found under the "Type" menu). This converts the text into editable shapes, allowing for customization.
Step 3: Modify, Modify, Modify!
Now comes the fun part: modifying individual letters. Select specific characters and let your creativity flow. Imagine altering the curves of an "R" or extending the tail of a "Y" for a personalized touch.
Step 4: Duplicate and Play
To truly experiment, create copies of your chosen letters. Use these duplicates as your playground! Adjust their curves and shapes to see what unique variations emerge.
Step 5: Pathfinder to the Rescue!
The Pathfinder tool is your secret weapon for creating a cohesive design. Use it to unite separate shapes, divide overlapping elements, and clean up messy areas.
Step 6: Refine and Unite
This is where precision comes in. Remove any unnecessary parts from your modified letters, and ensure their curves are precisely how you envision them. Finally, use the Unite function to create a unified logo design from your shapes.
Step 7: Final Touches
Polish your logo by removing any excess points that might have snuck in during editing. Double-check the curvature of your shapes, and ensure all elements are perfectly aligned on the baseline.
Step 8: Experimentation is Key
Don't be afraid to play around with different combinations of your modified letters! Try mirroring designs to create variations, and most importantly, make sure everything aligns for a clean, finished look.
Step 9: Unleash Your Logo-Making Superpowers!
With the skills you've acquired, you can now combine shapes, modify fonts, and experiment with letter combinations to forge one-of-a-kind logos that grab attention.


